
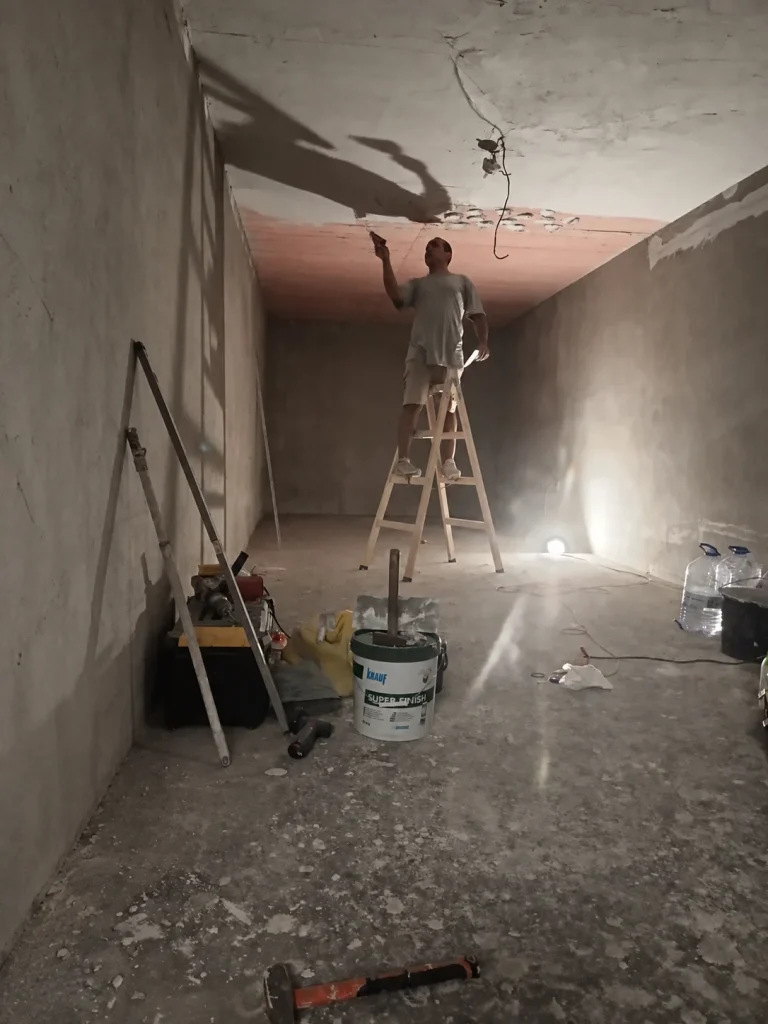
What wall and ceiling plastering includes
We offer professional wall and ceiling skim coating in Sofia. After a site visit, we agree the required work, suitable materials and labour price.
- Cleaning and priming the substrate, including removal of unstable coatings.
- Levelling walls and ceilings, with reinforcing mesh where required.
- Treating plasterboard joints and forming corners within the agreed scope.
- Finish skim coating, sanding and dust removal before painting.
Plastering and skim coating prices
Prices are indicative and cover labour only. The exact cost is determined after a site visit, according to substrate condition and room type. The visit and on-site consultation are free.
| Activity | Labour price |
|---|---|
| Gypsum levelling coat - 1 coat | 6 € / m² |
| Gypsum levelling coat - 2 coats | 10 € / m² |
| Finish skim coat - 2 coats plus sanding | 8 € / m² |
| Mesh-reinforced skim coating | 10 € / m² |
| Plasterboard joint filling and treatment | 4 € / linear m |
| Installing corner beads | 3 € / linear m |
| Finishing door and window reveals | 10 € / linear m |
| Filling service chases | 3 € / linear m |
| Removing old friable skim coats | 2 € / m² |
The price depends on: substrate condition, wall area, the need for reinforcing mesh, site access and other room-specific requirements.
Types of plastering and skim coating
The suitable system is selected according to the substrate, surface irregularities and desired finish.
We list examples of proven, readily available products we have used. The final material choice depends on the substrate and technical requirements; suitable equivalents may be used.
Gypsum levelling coat
Suitable for rougher walls, such as lime-cement render or old walls with holes and uneven areas. Usually applied in two coats to create an even base for finish skim coating.
Example material: Ceresit CT 126 - for levelling walls and ceilings in dry rooms, allowing up to 10 mm in a single coat.
Finish skim coat
A thin finishing layer that smooths the surface and removes small marks, pores and imperfections before painting. Applied using a dry finish compound or ready-mixed polymer filler.
Example materials: Sheetrock Super Finish or Knauf Super Finish - ready-mixed compounds for fine smoothing before painting.
Mesh-reinforced skim coating
Used on higher-risk substrates, including insulation boards, old cracked walls, transitions between materials and surfaces with slight movement. Mesh is embedded in the coat to reinforce it, distribute stresses and reduce cracking risk.
Example materials: fibreglass reinforcing mesh and a compatible coating compound.
Plasterboard joint filling and treatment
Includes filling board joints and applying joint tape to reduce cracking risk. Screw heads and internal and external corners are also treated. The whole surface is then skimmed so joints, screws and individual boards do not show through the paint.
Example material: Knauf Uniflott - a specialist gypsum compound for joints and screw heads. Whether reinforcing tape is required depends on the board edge type.
How we work
Work follows clear stages, with the exact scope determined by the room's condition.
- Site visit and assessmentWe check wall and ceiling flatness, plaster condition, cracks and old coatings. We determine the required work, materials and number of coats.
- Substrate preparationWe protect floors, windows and other room elements. Loose areas and unstable coatings are removed, larger defects repaired and surfaces cleaned.
- PrimingWe select a primer for the substrate type and absorbency. Priming improves adhesion and regulates moisture absorption from subsequent coats.
- Levelling coatWe correct uneven areas with suitable gypsum or other levelling compounds. Where needed, reinforcing mesh reduces cracking risk and beads form external corners.
- Finish skim coatWe apply one or two finish coats according to substrate condition, filling small pores and irregularities and smoothing to an even finish.
- Sanding and inspectionAfter drying, we sand the walls and ceilings and inspect them under side lighting. Any defects are corrected and dust removed before subsequent priming and painting.
Duration depends on area, number of coats and drying time. A specific schedule is provided after the site visit.
Stages from a completed project
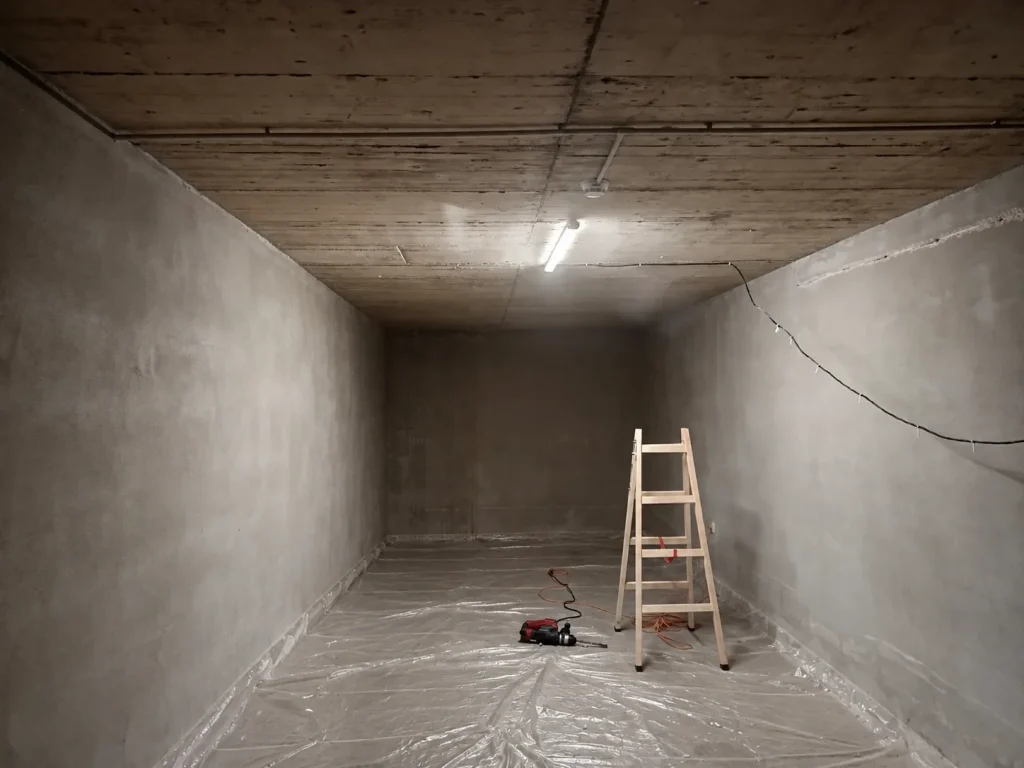
Before work
The room before finishing work: a concrete ceiling with formwork marks and joints, and lime-cement rendered walls. Here, the ceiling first needed levelling with gypsum plaster. Two gypsum levelling coats followed on the walls and ceiling, then two finish coats for smooth surfaces. After complete drying, sanding and dust removal, the room would be ready for primer and paint.
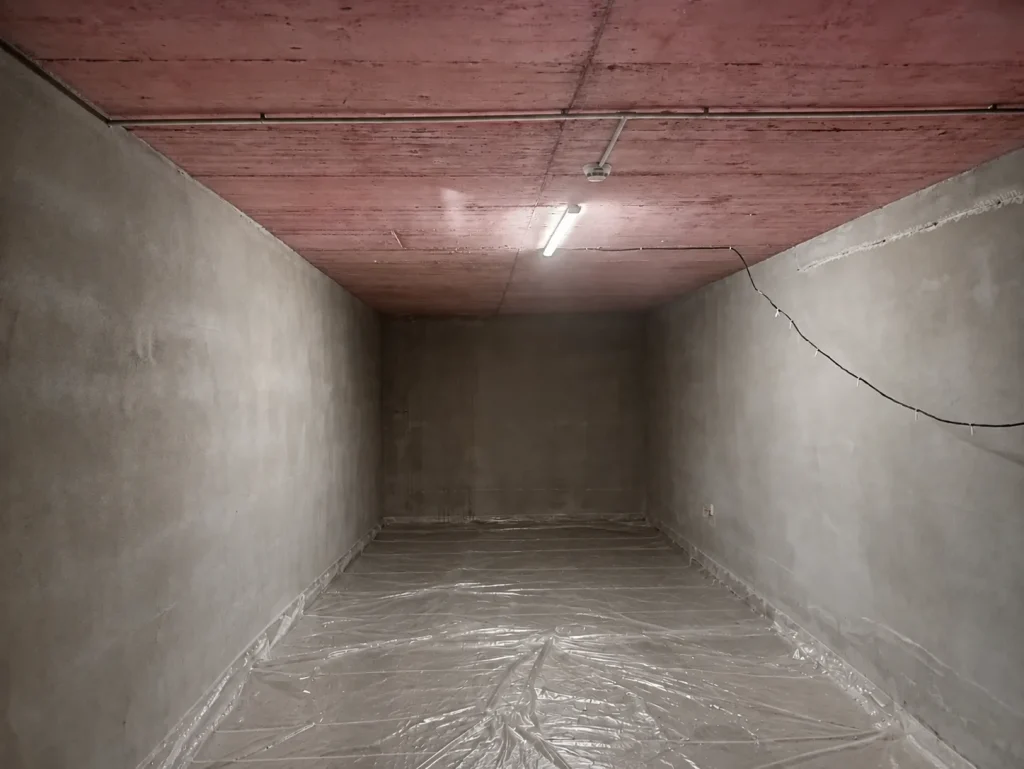
Substrate preparation - priming
We applied a concrete bonding primer to the ceiling. It creates a textured surface and provides adhesion between smooth concrete and the subsequent gypsum plaster.
The lime-cement rendered walls received a deep-penetrating primer. This strengthens the surface, binds dust and loose grains and regulates absorbency, preparing the walls for even application and reliable adhesion of the following coats.
Applying plaster to a ceiling
After priming, we levelled the concrete ceiling with Knauf Rotband gypsum plaster. Deeper irregularities and formwork joints were filled first, then the plaster was applied and ruled off to create a level surface.
This stage corrects the uneven concrete and creates a sound, level base. Once the plaster has dried fully, the ceiling is ready for the gypsum levelling coat.
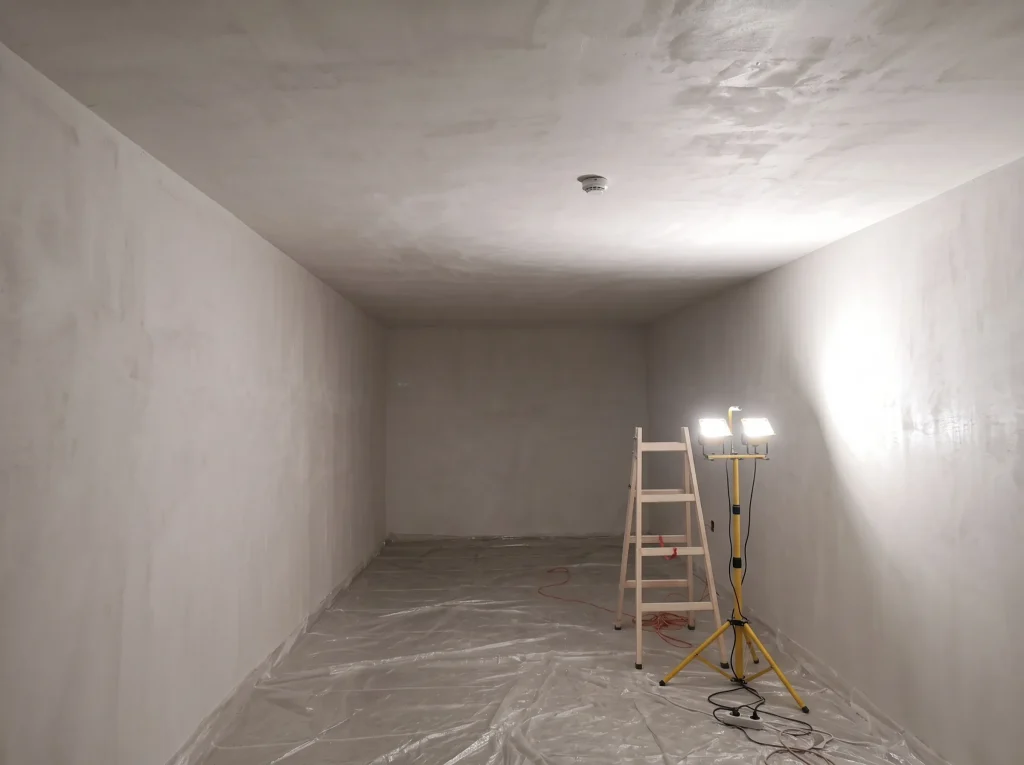
Skim-coated walls and ceilings
After levelling the ceiling, we coated the entire room. Two gypsum coats were applied to walls and ceiling to remove remaining irregularities and create a uniform, smooth base.
Side lighting from work lamps helps us identify and correct small imperfections. Once the gypsum coats have dried, two finish coats and final sanding follow.
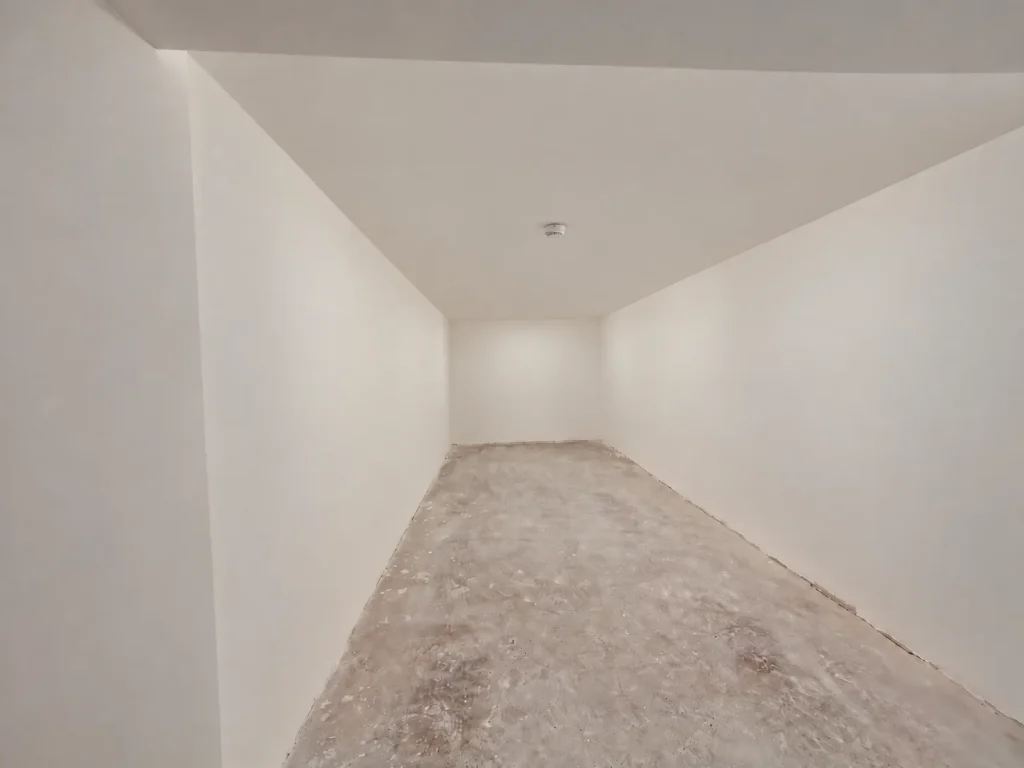
Final result after skim coating and painting
After applying two finish coats, we carefully sanded and removed dust from all surfaces. Priming and painting followed to achieve even, opaque coverage.
We paid particular attention to smooth surfaces, straight wall-to-ceiling junctions and precise internal corners. The result is finished walls and ceiling with no visible unevenness, tool marks or variations in coverage. Lighting, switches and sockets are the next step.
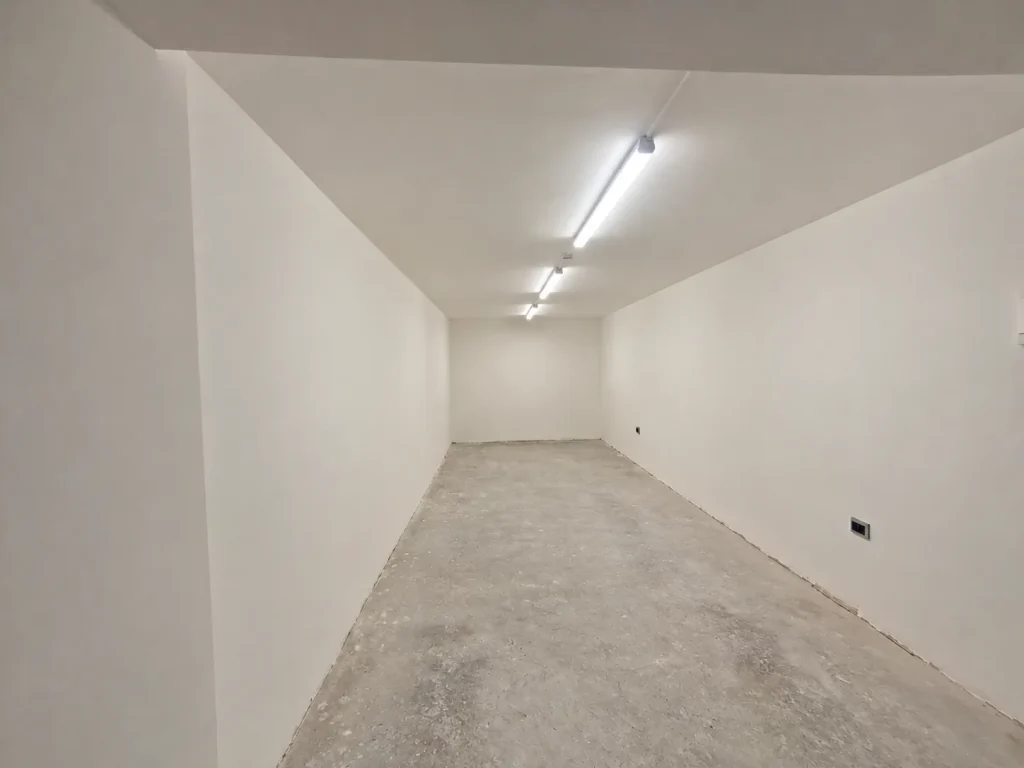
Finished room with lights and sockets installed
Once coating and painting were complete, we installed the lights and electrical sockets. Smooth surfaces and uniform white paint are clearly visible under the permanent lighting, allowing the finish and detailing to be assessed.
Wall and ceiling finishing is now complete. The room has a clean, finished appearance, with only the floor finish remaining.
Frequently asked questions
Short answers to common questions before work begins.
Do walls always need skim coating before painting?
Not always. If walls are even, old paint is sound and there are no cracks, peeling or other defects, local repairs, priming and painting are usually enough. New construction, rough plaster or extensive unevenness generally needs skim coating because paint often highlights rather than hides defects. A free site visit helps establish whether full coating or local treatment is needed.
Can you skim coat over old paint?
Yes, but only if the paint is sound and adheres well. We check for peeling, hollow areas, dust, grease and excessively smooth finishes. Unstable layers are removed, defects repaired, and the wall cleaned and suitably primed. Moisture or peeling must be addressed first, otherwise the new coat may also crack or detach.
What is the difference between levelling and finish coats?
Levelling compounds correct larger irregularities, depressions and plaster marks and can be applied more thickly. A thin finish coat follows to fill small pores and marks. Once dry, it is sanded to provide a smooth base for primer and paint. The two products have different purposes and are often used in sequence.
When is reinforcing mesh used?
Mesh is used on cracked or mixed substrates, insulation boards and material transitions. It is embedded in fresh compound with the required overlaps to distribute stress. It is not a universal solution: active structural cracks or moisture must first be investigated and their cause addressed.
How many coats are needed?
This depends on substrate flatness and the required finish. A sound wall may need only a finish coat and local repairs. Rough plaster or greater unevenness usually needs one or two levelling coats followed by one or two finish coats. Each layer requires the appropriate drying time; the exact system is selected after inspection.
How do I get an accurate quotation?
Photographs, approximate wall and ceiling areas and information on existing coatings, cracks, plasterboard or difficult access help with an initial assessment. An accurate quotation follows our free site visit, when preparation, coat numbers and additional work can be established. Clearly itemised labour rates, units, materials and estimated timing make quotations easier to compare and help avoid unexpected costs.
Get a quotation
We would be happy to discuss your ideas and answer your questions. Send us an inquiry so we can talk about your project and the options for bringing it to life.